Instrumentation

Last  year the old Signet knot meter gave up the ghost.  It gradually lost more and more of the little dashes that make the numbers until it looked like it was reading in Klingon.  I decided to get wind and speed instruments that matched the depth sounder I had already installed.

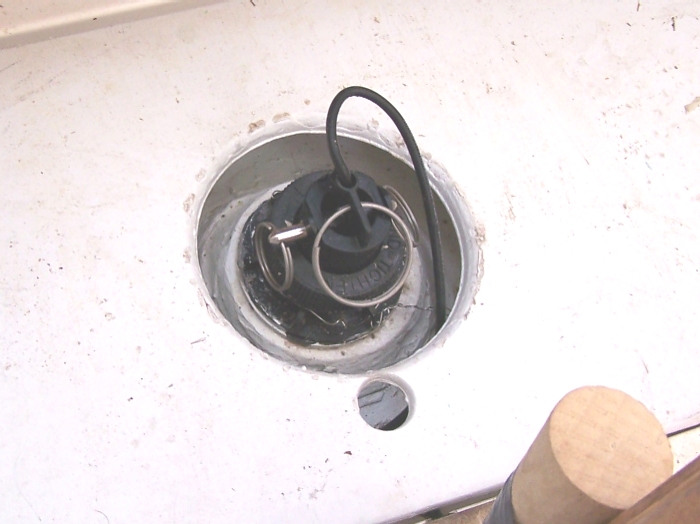
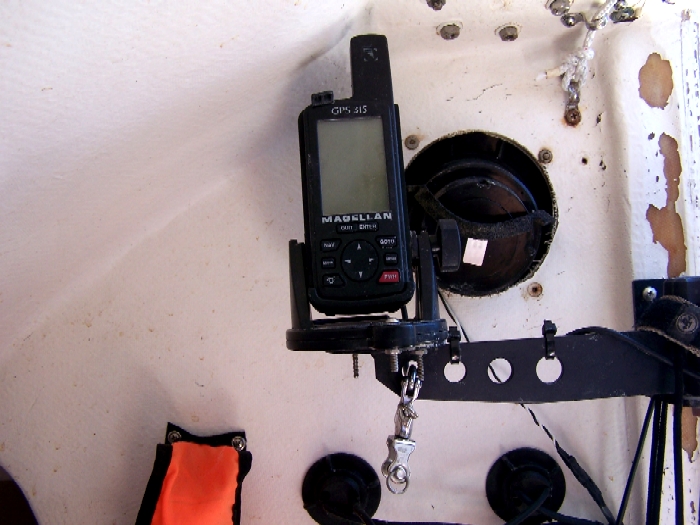
The sending unit from the Signet  instrument was so thoroughly stuck in the hull that it would not come out.  

I put an old wooden plug in it and drilled the whole thing out right though the center of it all.  Then I mounted the new one.  This was actually a good thing as the new through hull has a larger diameter than the old one.  

The drilling removed the old through hull and cut the new diameter hole in one operation.  Otherwise it would have been difficult to center the hole saw to re-cut the hole.

The new set of  Standard Horizon instruments on the right.

The remains of the old knot meter are on the left.  The case makes a nifty little porthole.

I have the depth sounder sending unit glued to the hull inside the V-berth storage. 

The speed and temperature transducer are in the small forward bilge as shown in the previous photo.  

I had a mount fabricated out of aluminum at Knox Fabrications in Salt Lake City.  

It is riveted just below the pre-existing rivets in the front of the mast for the mast head crane.  It raises the instrument base up to an elevation equal to the top of the crane.  

The cable goes right through the top of the mast head crane just to the side of the vertical section.

The wind chicken is mounted on the anchor light post.

While I was doing all this, I ran a new VHF radio cable as well. It is RG8U cable which is very thick.  This cable has gold connectors on each end with fully soldered connections.  It is sealed with dielectric grease and a heat shrink connection at the top.  

The cable is a single piece from radio to antennae. The through deck is a compression fitting as shown in the next photo.

The mast lights originally were connected at the deck level with a trailer wiring connector that was flopping around.  The wires through the deck were just caulked into the hole.  

I installed a water tight connector there that turned out not to be.  So this time, I soldered on some extra wire inside the mast and shrink tubed the solder joints and double shrink tubed the whole set into a new cable that also goes through a compression fitting.  The wired are connected in the cabin  at the top of the compression post.

Here is a close up of the wiring deck fittings. These new compression fitting and lack of mechanical wiring connections above deck do away with corrosion problems in this area.

You can also see the exit sheave at the base of the mast for the shock cord that returns the spinnaker pole car to the base of the mast.  I have installed the single line hoisting system as described in the original Santana 525 owners manual.


The GPS has been installed for many years on this swing out mount.  However, this year I ran a new data connection which is hardwired to the electrical system and is also connect to the auto tiller. 

Additionally the auto tiller is also connected to the NMEA data from the wind instrument so the tiller can hold a GPS course or an apparent wind angle.  The auto tiller also has a handled remote wired into the system.

The wiring itself has been upgraded with these lighted, fused rocker switches, a fuse and main breaker connection and a grounding buss.  A lot of wire support loops and a multitude a zip ties make a neat installation.  The 3 switch panel unit replaced the original Schock installed panel.  The 4 switch panel unit was added just around the corner of the "galley" cabinet on the port side.