This is the Mast Crutch.
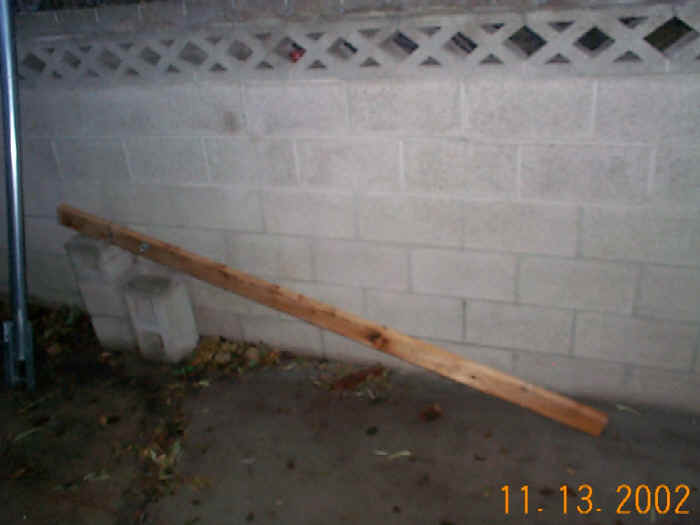
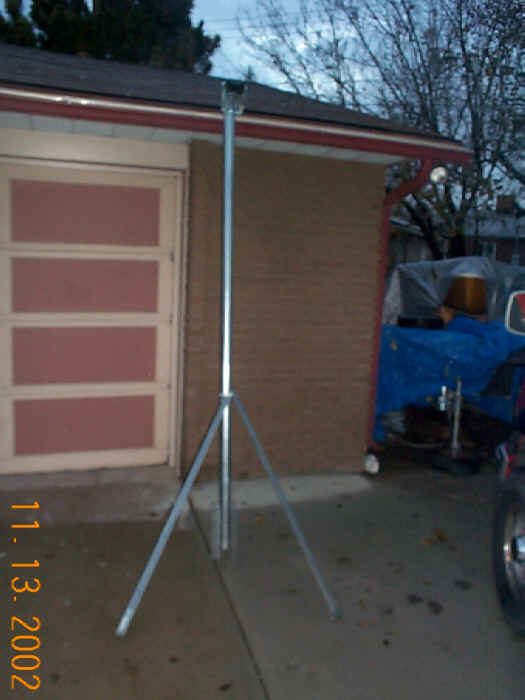
For reference, the garage door is seven feet high. 
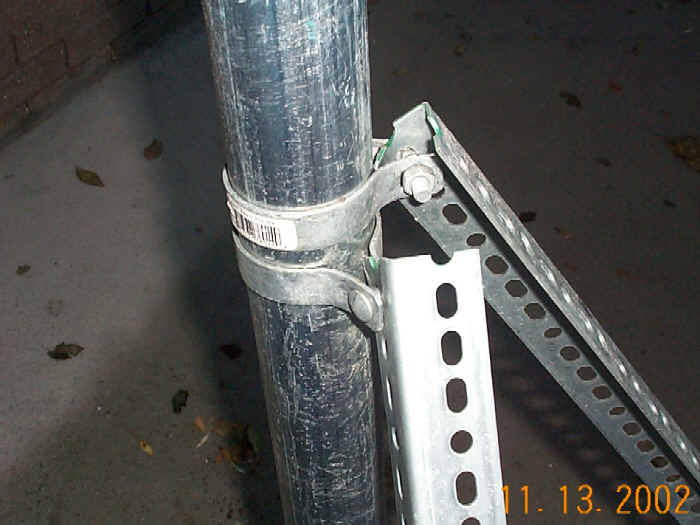
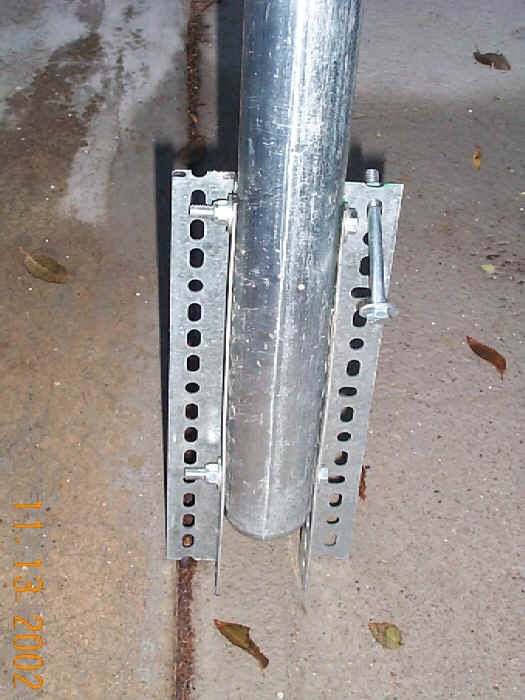
The bracing arms are secured to a 2x4 placed on the top of the rear lifeline terminal stanchions. The best method of attachment of the 2x4 has proven to be multiple wraps of black electrical tape as lashing. |
|
This is a close up of the base of the crutch. It straddles the
motor mount. I drilled a hole though the square tube to accept the
bolt hanging from the upper right side. It would go though the
bottom holes just like the other two and attach the base to the mount.
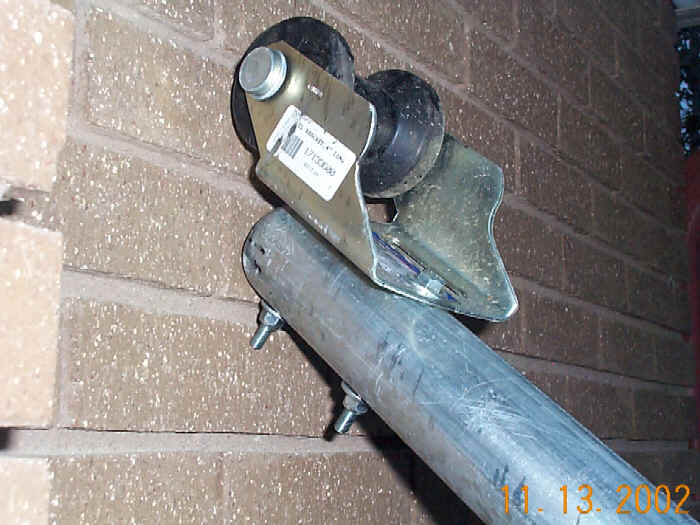
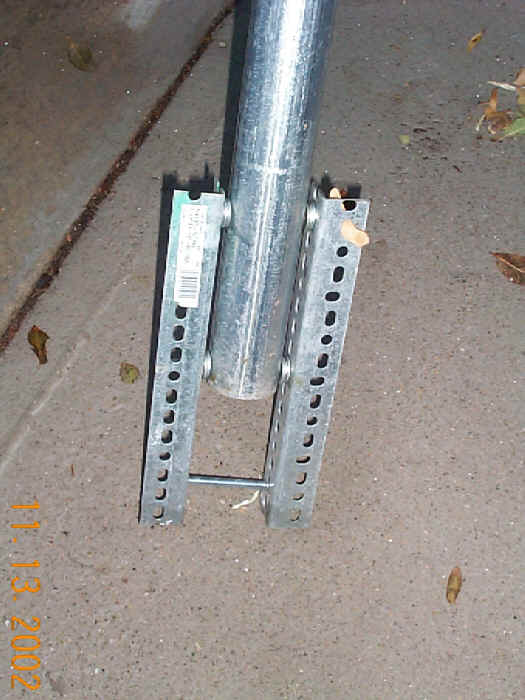
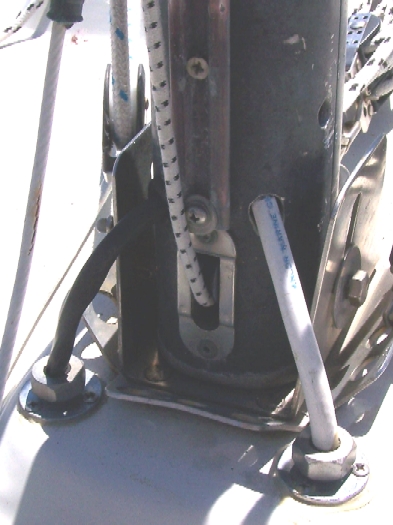
The base will also just stand on the motor mount if you don't want to secure it with bolts. |
This is the top of the crutch. The height of the crutch is designed to keep the mast at about shoulder height above the rear deck. The base of the mast really starts to damage the deck and fittings if it is allowed to drop lower than this while attached to the cabin top. When taking the mast all the way down, I just drop it to the roller, undo the mast bolt, walk it to the pulpit as it rolls on the roller, and finally sit the whole thing down horizontally. A second short 2x4 tape lashed across the pulpit works well as a support. | |
These braces stabilize the crutch. The arms bolt to a 2x4 laid across the tops of the two stern rails. Use bolts to secure the bracing arms to the 2x4. AS mentioned, black electrical tape does a great job of securing the 2x4. For long distance traveling a single 2x4 might benefit from a second for strength. | |
This is the larger aft 2x4. You can see one of the stabilizer bolts above the smaller cinder block. |
This is the jib pole. Again the door is seven feet high. The length of the pole is designed to extend from the mast to a position just above the space between the forward cleats. | |
This is the base. The washers are spacers to make the bracket
width equal to the diameter of the mast. You can see the bolt
which attaches the jib pole though the mast. The holes for this
are just above the base bracket. The holes were already there when
I bought the boat, so I didn't have to brave that part. There is
another set about three feet above the first. I don't know what
they were for.
It would also work to just straddle the mast and secure the base with tape or a short line. |
This is the end of the jib pole. The links are above and below when the pole is attached to the mast and parallel to the deck. I take the halyard below the forestay and tie it to the top link. The halyard is secured; holding the jib pole in place. A sheet then is attached to the other link, ran through a block tied between the cleats, and run back to a winch. The purpose of the pole is to maintain a large angle of purchase as the mast drops back. Without the pole, the line becomes nearly parallel to the mast losing leverage as the load increases! |
You can see the holes through the mast on center just above the mast
step.
I usually have a couple of helpers each take a halyard off to the side to keep the mast from swinging off centerline. I just loosen the forestay a number turns (remember them) and pull the pin. |